Last year some club members and I managed to hit on a white bass spawning run on a small shallow river which connects to the Mississippi River. The river is open, no weirs or dams, so the white bass are able to come up and do their thing just like salmon, though not as spectacular. It has an average flow greater than 100cfs and therefore it is on the MDEQ website as a public waterway; however, there are no public boat launches. Access requires combat launching of a public easement or getting landowner permission.
Last year we were lucky enough to run into a landowner with property on the river that was OK with us using his property for access. In addition to access, he volunteered a lot of information on fishing the spawning run, even doing a program for our local club. He related a story about being on the river having difficulty catching fish while nearby bank fishermen appeared to be really stacking them up. He finally just had to ask the fishermen how they were catching so many fish. They in turn showed him their bait, which were tiny crayfish. They also told him where and how to go and seine some for himself. He took their advice and returned with a container of the small crawfish and he and his friends caught a large number of fish using the tiny crustaceans.
Well that story really intrigued me and I set out to tie a tiny crawfish for this year’s spawning run. I know white bass will take a variety of flies but this sounded like a challenge, to develop a fly pattern that might provide the same kind of success of using tiny live crayfish. I began searching through all the patterns for crawfish I could find. Most patterns were for larger crayfish used primarily for bass but many were patterns to represent the young of the year.
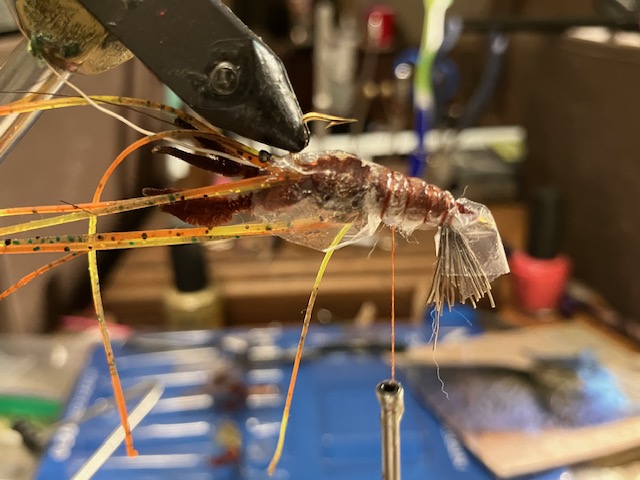
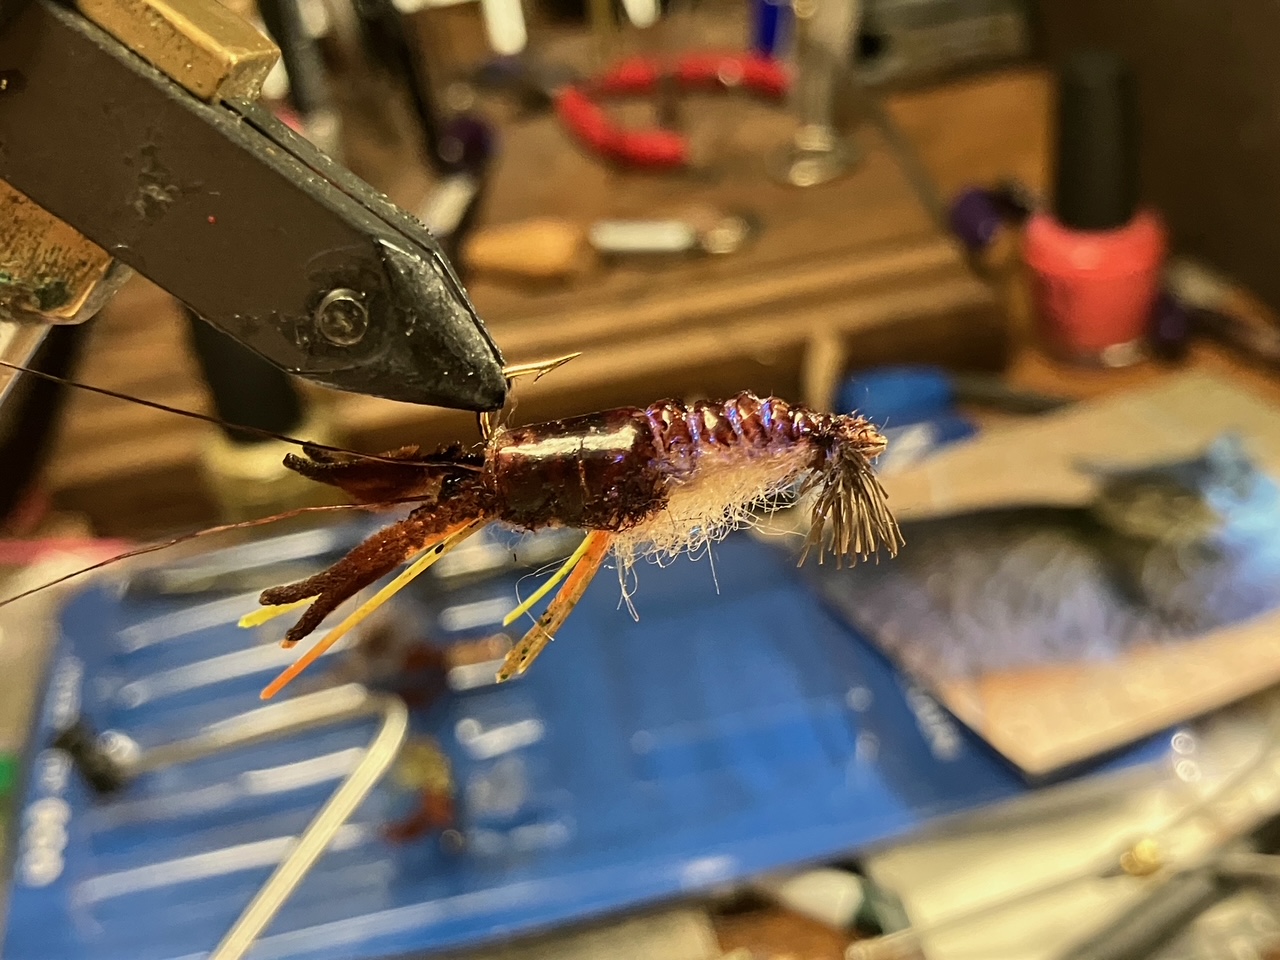
I made the realization that I just did not think any of the numerous patterns really looked like crayfish and decided to try and create one to my own satisfaction. The following pattern is the result. Everybody has an opinion, but my opinion is that my version of crayfish makes me the most happy. I think it is realistic and it is the UV shellback and the claws that make it pop.
The technique I use with the resin may or may not be new. The techniques as follows: I soak UV resin into the dubbing, basically soaking only what I want to become shellback. Once it’s soaked, I place a piece of clear plastic over it, wrap over the plastic with thread (to make the joints in the tail) and then, as I hold the plastic and pull on it to pull the resin into the rostrum (nose), I shine the UV light on it. I then simply unwind the thread and peel off the plastic, which actually does not stick and peels off nicely. That’s my trick, using clear plastic the UV light can shine through to smooth out the exoskeleton or shellback. What is left after removing the plastic is a hard, smooth shellback with clearly delineated joints of the tail. Also hopefully, a pointy rostrum above the eyes you can color black with a marker. Markers color the hardened resin nicely.
Now I don’t know if anyone has been doing the clear plastic over the UV resin technique, but it was my own idea and I have yet to find anyone else using it. If you’ve been using that technique and it’s not new to you, well, good for you.

Materials: Daiichi swimming nymph hook size eight, 50 lb mono for eyes, .35 lead, .015 lead, brown dubbing, lighter beige dubbing, yellow/ orange rubber legs, two strands moose body hair for antennae, short moose hair for the tail, thin UV resin, Fabric Fusion glue, brown thread ( I use Danville’s Waxed Flymaster Plus, 210 denier)
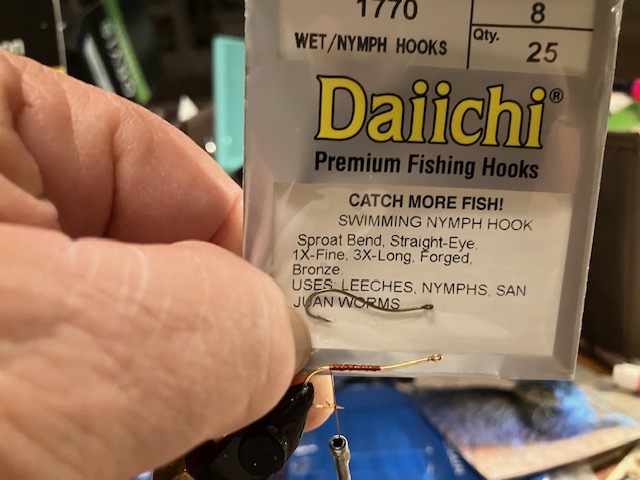
Substitutions: I bend cheap Aberdeen crappie hooks into a shape similar to the swimming nymph hook and they work fine. For different colors just use different colored dubbings. I haven’t seen any of the live crayfish to examine their size and color, but it’s on my list of to do’s.

Tools: bobbin, bodkin, scissors, lighter to melt mono for eyes and burn chenille to make crab claws.
This fly is tied to ride hook point up to avoid snagging debris on the bottom which is where the fly is most likely to be successful. If rotary vice, rotate as instructed if not, turn the hook over.
Tie in mono eyes along sides, eyes extending about one quarter inch.

Use a black marker for eyes.
With hook point down in vice, tie in two long moose hair antennae
Tie in front rubber legs

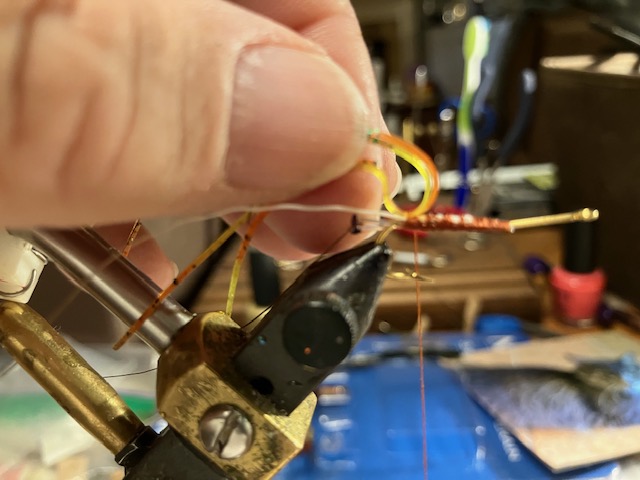
Tie in claws. I make the claws ahead of time by doubling over ultra chenille and then just barely touching the claws with a flame from the lighter to burn the blunt ends to make them pointy.

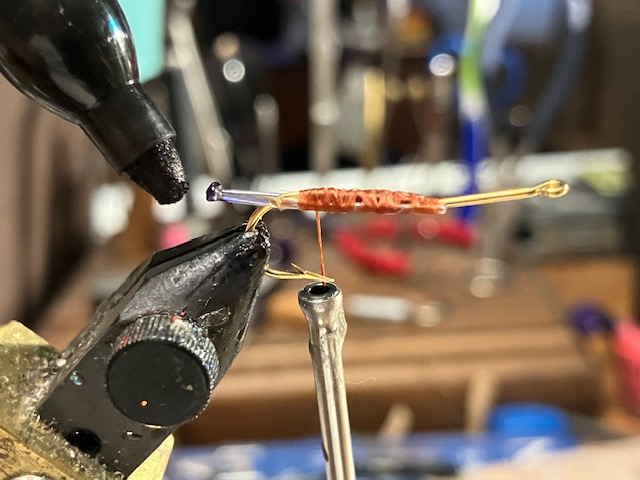
- Wrap four turns of .35 lead behind hook bend
- Tie in six turns of .015 thin lead behind that
- Wrap lead turns with thread move thread in front of first turns of lead and tie in four inch dubbing loop
- Put Fabric Fusion on dubbing loop (FF is optional, it’s just what I do, you may prefer wax).Place dark brown dubbing in loop, spin into noodle and wrap noodle around the four turns of the .35 lead to cover.
- Turn vice so hook point is down
Use dubbing loop to wrap carapace with a dubbing that should be darker than the tail dubbing

Rotate vice so hook point is down, tie-in back rubber legs.

Tail – Tie in moose hair tips, wrap to back, bend up for tail and back-wrap the blunt ends to force them up (tail will be down when hook point is up).

- Turn vice so hook point is up
- Tie in dubbing loop behind rear legs.
- Treat DL with FF and insert a lighter colored dubbing, spin into noodle and wrap to front of tail, leave thread hanging in front of tail.
- Cut piece of cellophane, ziploc bags are good, length of fly or slightly longer) Coat chenille (or top of dubbing if not using chenille) with a thin-set UV resin.
- Place plastic over the fly and wrap back over it with the thread. Make narrow loops gradually increasing to just behind the dark dubbing. Allow bobbin to hang, weight of bobbin will hold thread in place over plastic.
- Pull plastic down tight over the fly, pulling down toward eyes to bring glue down to eyes for carapace and then shine the uv light over all, be sure to shine over the far side completely too.
- Unwind the thread wraps, remove the plastic, half-hitch or whip finish and cut the thread
- Trim legs to correct proportion
- Use bodkin to pick out some fibers of the light colored dubbing to look like small legs in the tail.
- If necessary, use markers to color the shell to your taste
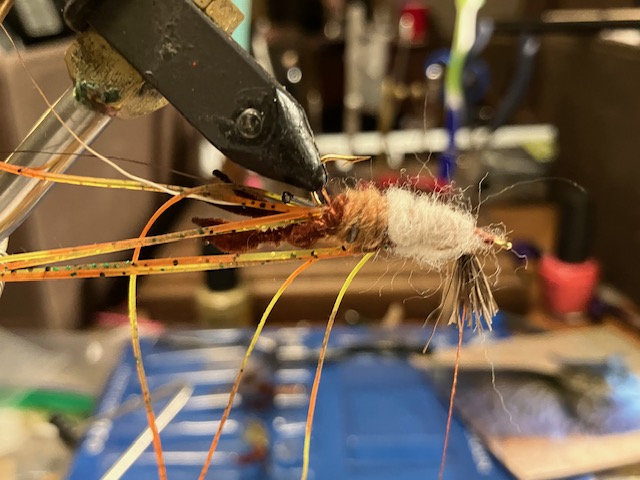
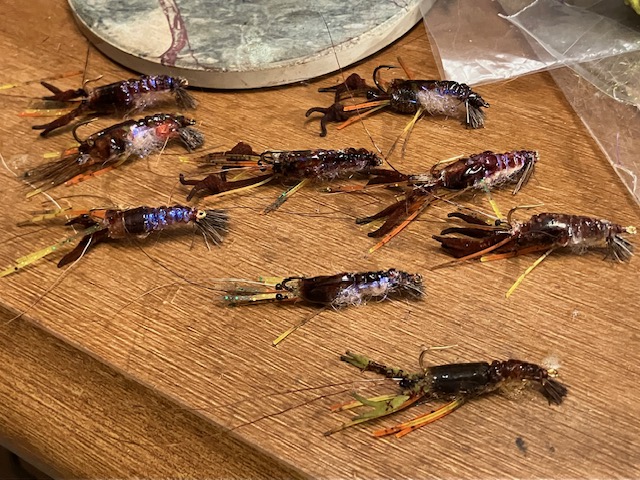
I have been attempting to reduce the pattern to smaller patterns, this was a size eight, but tying tiny claws and using UV resin on the smaller hooks has only resulted in some, well… ugly flies. I am trying to scale down the pattern to, hopefully, a size ten. I’ll get it eventually so, stay tuned for a possible sequel “Let’s Get Small”.
My little crustacean army, ready to do battle. If they don’t work on the white bass, I know that crappie, bream, bass and even trout will eat them.


.
